A bee smoker a piece of equipment that can decide whether an inspection feels controlled or chaotic. Used well, it lets you open a strong colony, work the brood nest, close up, and walk away without a sting. Used poorly, it scorches bees, taints honey, agitates the very colony it was supposed to settle, or goes out three frames into the inspection.
This guide is the practical version. We cover what smoke actually does to bees (the short version), how to light a smoker so it stays lit, how to apply smoke during a real inspection, and how to put it out without setting your truck on fire. There are caveats throughout, because the right amount of smoke depends on the colony, the season, and what you are trying to accomplish.
Why smoke calms bees (the short version)
Smoke does not sedate bees. It interrupts how they communicate.
When a hive is disturbed, guard bees release alarm pheromones, mainly isopentyl acetate and 2-heptanone. These chemicals recruit nearby bees to defend the colony. Smoke does two useful things at once. It physically masks those alarm signals, and it temporarily reduces the bees' ability to detect odors at all. The window of reduced odor sensitivity lasts roughly 10 to 20 minutes, which is your working window.
Smoke also triggers a feeding response. Bees move to honey stores and fill their crops, which leaves them slightly distracted and physically less able to flex into a stinging posture. The folk explanation is that they think the forest is on fire and are preparing to abandon the nest. The mechanism is real, but the reaction is partial and short-lived. Bees do not actually leave, and the response fades as the smoke clears.
The practical takeaway: you only need enough smoke to interrupt alarm signaling and move bees where you want them. More than that and you start working against yourself.
What you need before you light
Before lighting, lay out the following:
- A clean, working smoker (bellows that pump strongly, a clear grate, no creosote blockage in the spout)
- A handful of fast-igniting starter fuel
- Enough main fuel to fill the smoker mostly full, plus extra
- A long-handled lighter or small butane torch
- Your hive tool
- A safe place to set the smoker down (a hook, a stand, bare dirt, concrete, gravel, anything not flammable)
Do this before you suit up. Wrestling with a smoker while wearing a veil is how veils end up with burn holes.
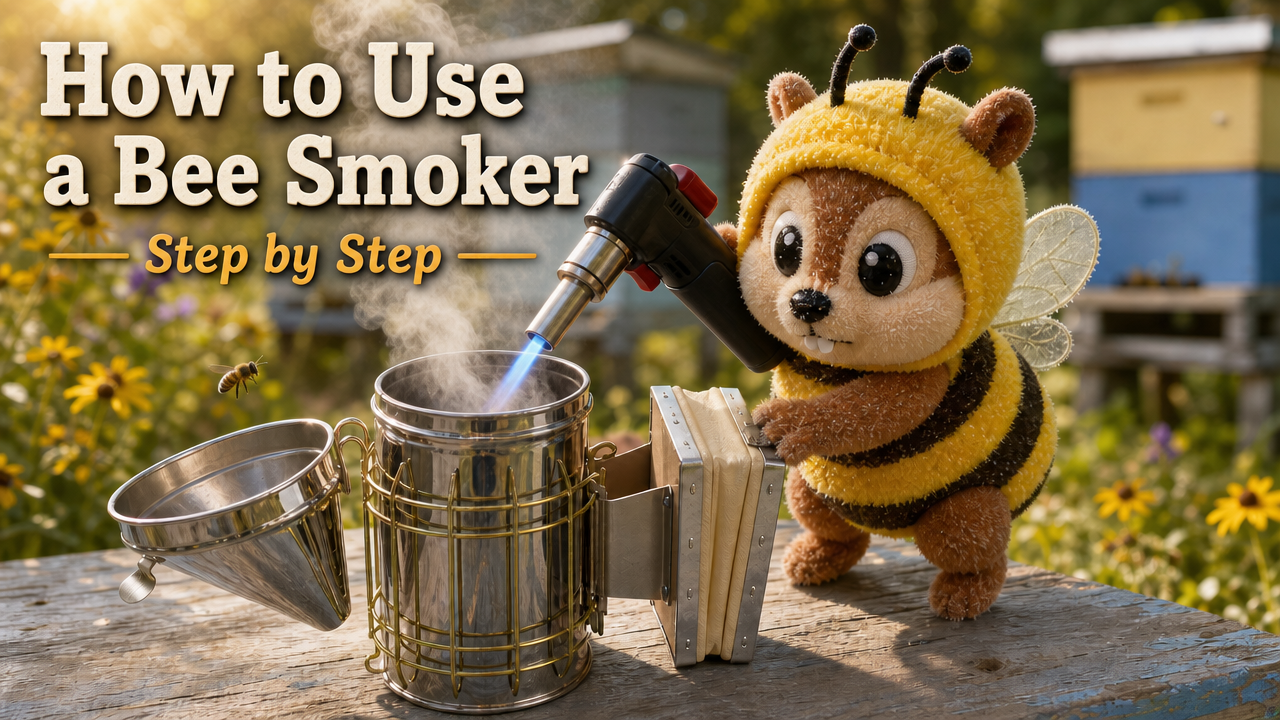
Step 1: Choose your bee smoker fuel
There is no single best bee smoker fuel. The best fuel is whatever you can keep dry and ready in volume, ignites without trouble, and produces cool, dense, pale smoke. The table below covers the common options.
| Fuel | Ignition | Burn time | Smoke quality | Notes |
|---|---|---|---|---|
| Pine needles | Very easy | Moderate | Cool when dry, can spark if you over-pump | Free in conifer regions; pleasant scent |
| Untreated burlap (hessian) | Easy | Moderate | Dense, serviceable | Make sure it is genuinely untreated; many feed sacks are coated |
| Cotton (untreated) | Moderate | Long | Very cool and steady | Often considered the cleanest, longest-burning natural fuel |
| Wood pellets (untreated) | Hard | Very long | Clean, white, low spark | Need a hot ember bed first; once lit they last ages |
| Punky (rotten) wood | Moderate | Long | Cool, lightly scented | Excellent if you can find dry, clean punk |
| Wood shavings or hemp bedding | Easy | Moderate to long | Cool when dry | Don't pack so tight you choke airflow |
| Cardboard, egg trays | Very easy | Short | Acceptable as starter only | Remove tape, glue, ink-heavy print, glossy coatings |
Avoid anything synthetic, dyed, glossy, painted, plastic-coated, pressure-treated, or chemically processed. That includes dryer lint (mostly synthetic fibers in modern households), printed magazines, treated lumber scraps, and twine of unknown origin. These produce real toxicants, leave residues in wax and honey, and are unpleasant for the beekeeper to breathe.
A common high-performing combination is a quick-light starter (torn untreated egg carton, or a small handful of pine needles) plus a long-burning main fuel above it (pellets, cotton, or punky wood). That gives you fast ignition and a smoker that will outlast a long inspection.
Step 2: Light the bee smoker so it actually stays lit
The number one reason a smoker dies mid-inspection is that the ember bed at the bottom was never properly established. Fuel piled on top of weak embers smolders, then suffocates.
The reliable sequence:
- Empty cold ash from the previous use and scrape any creosote off the lid mating surface and the spout. A clogged airway is a smoker that won't draw.
- Drop a loose ball of starter fuel into the bottom of the chamber. Light it. Pump the bellows steadily until you have a real flame and visible glowing embers, not just smoldering material.
- Add a small handful of your main fuel onto the burning starter. Keep pumping. Wait until that handful is clearly burning before adding more.
- Repeat with progressively larger handfuls, packing slightly tighter as you go up. Bottom layer loose for airflow, top layer denser so the smoke filters cool through it.
- Fill the chamber mostly full, tamp lightly with your hive tool (do not crush airflow), and close the lid.
- Pump until you get steady, dense, pale smoke from a closed lid without active bellows work.
If the smoke is thin, blue, or sparky, you have a fire, not a smoker. Add more fuel on top and tamp gently. A handful of fresh green grass laid over the top is an old trick that drops the smoke temperature and catches stray embers.
The "bare wrist test" is the standard sanity check. Direct a puff onto the back of your bare wrist from the same distance you would use on the bees. If it stings or feels hot, the smoke is too hot. Add fuel and let it cool.
Step 3: Apply smoke to the hive
This is where most beekeepers, including experienced ones, use too much smoke. The published research on alarm pheromone perception supports a gentle, patient approach over a heavy, repeated one.
A standard inspection sequence:
- Approach the hive calmly from the side or back, not the flight path.
- Give one or two gentle puffs at the entrance. Aim at the opening, do not stick the spout inside. This pacifies the guards and starts the engorgement response.
- Wait. Thirty seconds for a calm colony, up to two minutes for a defensive one. Use the pause to put your veil down, ready your hive tool, and watch the colony's tone.
- Crack the outer cover. Slip a single light puff into the gap. Replace the cover loosely for another twenty to thirty seconds.
- Lift the inner cover. Send a soft puff across the top bars (parallel to them, not blasting straight down between frames). The goal is to drive bees gently down between the frames so you can work without crushing them.
- Inspect at a steady pace. If bees start to boil up between frames or cluster at the box edges, give a single gentle waft across the work area and pause.
- If you find yourself smoking repeatedly to maintain control, the colony has had enough. Close up and come back another day.
A few practical pointers:
- Hold the spout 5 to 10 inches (roughly 12 to 25 cm) from the bees. Closer than that risks heat. Further and the smoke disperses.
- Smoke across bees, not into them.
- If you get stung, immediately puff smoke over the sting site. The venom carries alarm pheromone that recruits more bees to that exact spot. Masking it stops the cascade.
- When reassembling boxes, a light puff at the rim moves bees off the edges and reduces the number of bees you crush when the box settles.
The 10 to 20 minute window matters. If you plan to work a hive longer than that, expect to refresh smoke once during the inspection. If a single colony is going to take 45 minutes, it is usually a sign to break the inspection into stages or schedule it as two visits.
Step 4: Keep the smoker lit while you work
A smoker left untouched will go out faster than people expect, especially if it is sitting on its side or running low on fuel.
- Give the bellows a maintenance puff or two every five to ten minutes, even when you are not actively smoking. This keeps oxygen moving through the embers.
- Stand the smoker upright. The hook on the back of most smokers is for hanging it on the edge of a hive box or stand. Lying on its side, the upward draft dies.
- If output drops, open the lid, drop a fresh handful of fuel onto the embers, give eight to ten firm puffs, tamp lightly, and close.
Step 5: Put the smoker out safely
A bee smoker is hot enough to start a vehicle fire, a grass fire, or a structure fire. This happens every season. The fix is straightforward.
To extinguish:
- Plug the spout. A wine cork, a wad of green grass, or a tight roll of aluminum foil all work. Tying a cork to the smoker on a short wire is a habit worth picking up.
- Lay the smoker on its side on a non-flammable surface. With the spout sealed and no upward draft, the embers suffocate within 10 to 20 minutes.
- Better, transport the smoker in a metal container while it cools. A purpose-built smoker box, an old metal toolbox, or a steel ammo can all qualify. The bellows often poke out the side; that is fine as long as the hot end is enclosed.
- Before you leave the apiary, walk the area where you set the smoker down. Look for stray embers in dry grass.
- Do not empty hot ash on the ground. Wait until the contents are fully cold, then dump on bare dirt or concrete. If you need ash gone immediately, dunk it in a bucket of water.
Never put a still-warm smoker in a vehicle, garage, or shed. Never set it on a polystyrene hive top, a wooden hive, insulation, or dry grass.
Common mistakes (and how to fix them)
| Mistake | What it causes | The fix |
|---|---|---|
| Lighting from the top down | Fire dies within minutes | Establish the ember bed at the bottom first |
| Packing fuel too tight from the start | Suffocates the fire | Loose at the bottom, tighter near the top |
| Frantic pumping | Hot, sparky, blue smoke | Slow, soft squeezes; let the smoker smolder |
| Smoking straight down between frames | Drives bees up at you | Smoke across the top bars, not into the gaps |
| Skipping the wait at the entrance | Full defensive response when you open | Wait 30 to 60 seconds after the entrance puffs |
| Continuous heavy smoking | Drives bees off frames, taints honey, escalates aggression | A few puffs only when the colony actually needs them |
| Setting the smoker on a hive lid or grass | Melted plastic, scorched wax, fire risk | Use the hook, a stand, or a non-flammable surface |
| Skipping cleaning | Resin clogs the airway, smoker won't stay lit | Scrape the lid and spout while still warm; deep-clean once a season |
| Synthetic or treated fuels | Toxic smoke, contaminated honey and wax | Only natural, untreated material |
When less smoke (or no smoke) is the right answer
Smoke is not the right tool for every job.
Honey harvest. Wax cappings absorb smoke odor and combustion byproducts. Heavy smoking during harvest produces honey that tastes faintly like a campfire. Use the absolute minimum during the last week or two before harvest, and prefer a fume board, escape board, or bee brush when actually pulling supers.
Queen finding. Smoke makes queens run. They scatter to the corners of the box, hide on the underside of the queen excluder, or end up on the inner cover. If you need to find a queen, settle the colony with the entrance puff, then back off. Once frames are out, work them slowly and quietly, with the smoker within reach but mostly idle.
Swarms. A hanging swarm is usually docile. They have no brood or stores to defend and they are full of honey from the parent colony. Smoking a swarm can disperse it. A light water mist is often the better tool for keeping a cluster tight while you collect it. Keep a smoker lit nearby in case the swarm is unexpectedly defensive, but most swarm captures do not need it.
Calm colonies in good flow. Some experienced beekeepers do brief peeks on calm colonies during a strong nectar flow without lighting a smoker at all. They keep one ready in case it is needed. This is not a starting habit, but it is worth knowing that smoke is a tool, not a ritual.
Africanized honey bees. In regions with Africanized stock, the conventional wisdom of "more smoke for hot colonies" does not always hold. Heavy smoke can amplify, rather than dampen, the response. Standard moderate smoking, full PPE, working in cool early morning, and being willing to walk away are the safer pattern. Long term, requeening defensive colonies from gentle stock is a better solution than smoking technique.
Maintenance and storage
Once the smoker is fully cold, scrape the inside of the lid and the spout opening with your hive tool. Creosote builds up surprisingly fast and is the number one reason smokers stop drawing well. Once a season, take the smoker apart as far as it comes apart, soak the metal body (not the bellows) in white vinegar to break down the resin, then rinse and dry thoroughly. Inspect the bellows leather or fabric for cracks or air leaks, and replace it when the puff feels weak.
Store the smoker upright and dry. Keep your fuel in a sealed container. Damp fuel is the second most common reason a smoker won't stay lit.
FAQ
How long does smoke calm bees? The reduced odor sensitivity lasts roughly 10 to 20 minutes, with the strongest effect in the first few minutes. Plan inspections to fit inside that window or expect to refresh smoke partway through.
What is the best fuel for a bee smoker? There is no single best. Pine needles, untreated cotton, untreated burlap, wood pellets, and punky rotten wood all perform well. Choose based on what you can keep dry and ready in volume. The most important rule is that the fuel is clean, dry, and untreated.
How do I know my smoke is cool enough? Direct a few puffs onto the back of your bare wrist from the same distance you'd use on the bees. If it stings or feels uncomfortably hot, add more fuel and tamp it down. A handful of fresh green grass on top of the burning fuel also drops the smoke temperature.
My smoker keeps going out. What am I doing wrong? The usual culprits, in order: damp fuel, weak bellows, no proper ember bed at the bottom, or a clogged grate or spout. Test the bellows for a strong puff, store fuel in a sealed container, build the ember bed before adding bulk fuel, and clean the airway.
Do I need to smoke a calm colony? Not always. A brief peek on a strong colony in good flow can be done with little or no smoke if you work quickly and quietly. Always have a lit smoker within arm's reach as insurance, even if you don't end up using it.
Can I use a propane torch instead of a lighter to start the smoker? Yes, and many beekeepers prefer it. A small butane or propane torch held at the bottom edge of the chamber gets the ember bed established quickly. Never use liquid accelerants like gasoline, kerosene, or lighter fluid, which leave toxic residues and produce unsafe flames.
Is it safe to use the same smoker for honey harvest as for regular inspections? Yes, as long as you use clean fuel and minimum smoke during harvest. Wax absorbs smoke flavor, so heavy smoking near honey supers can taint the harvest. A single light puff under the cover is usually enough. Mechanical removal (fume board, escape board, bee brush) is preferable for the actual frame removal.
How do I put a smoker out quickly? Plug the spout with a cork, a wad of green grass, or a roll of aluminum foil. Lay the smoker on its side on concrete or bare dirt. With the draft cut off, it will smolder out within 10 to 20 minutes. For full extinguishing, dunk the contents in water.

Track colony temperament and which fuels worked best with hivemunk inspection notes.
Commitment to Accuracy: If you find any errors or inaccuracies in this guide, please report them using the chat feature. I appreciate your help in maintaining high-quality content.